


Hi there! I'm here to tell you about the wonders of making fresh homemade honeydew juice. This page is partially a tutorial for making melon juice, but also partially just a shrine of my appreciation for this delightful ambrosia.
Every June, when honeydews and cantaloupes come into season, I undergo a transformation into my true form: a melon-juice fairy. I love to make big batches of my delicious juice and bestow it upon the mouths of my friends and loved ones. If you've tasted it then you know what I'm talking about. Read on to learn how to make this heavenly juice!

first, let me tell you about this juice
This juice is simply so good. When blended, the melon takes on a smooth creamy texture. It drinks sort of like a milk or a smoothie. Or a milkshake even. But it's just a ripe melon blended smooth with a pinch of sweetener, and that's all it is. You can also throw in a little bit of a secondary juice of your choice, or another fruit just to be crazy. If I have it on hand, I usually go for a coconut-based liquid like coconut milk or one of those young coconut drinks. This juice is sweet, creamy, nourishing, and easy to make. I am simply a humble evangelist of this divine nectar, spreading its message far and wide.
what you will need
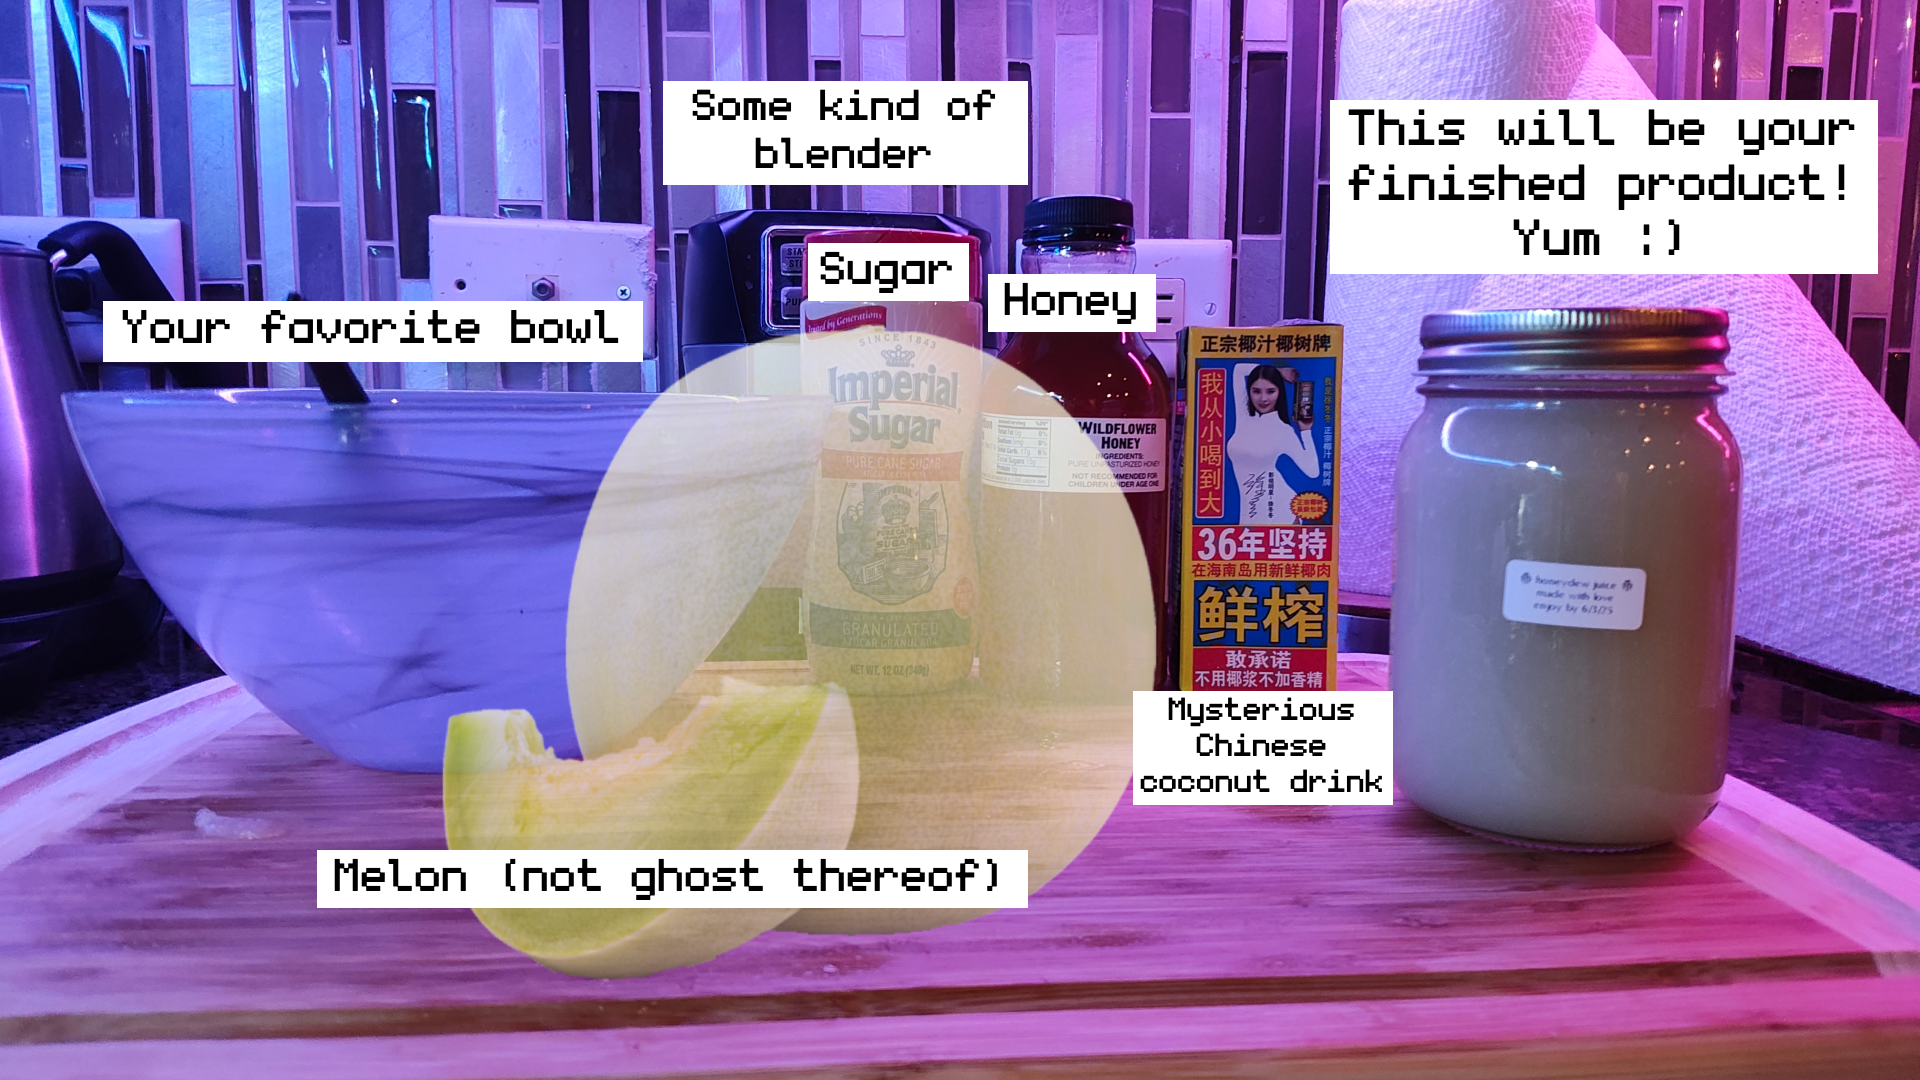
- A melon of your choice, preferably a honeydew or cantaloupe. We are going for that creamy texture. I decided to make this webpage after I had already made a batch of juice, so my melon was a ghost at this point, its mortal vessel forever transmuted into juice. But yours will need to not be a melon-ghost. PRO TIP: It's important that your fruit exists in the present moment, because otherwise you will have a hard time juicing it.
- Some sort of blender -- I use one of those ones with an upside-down cup and a motor in the lid. It does the job just fine. Ripe melon is soft and blends quickly :)
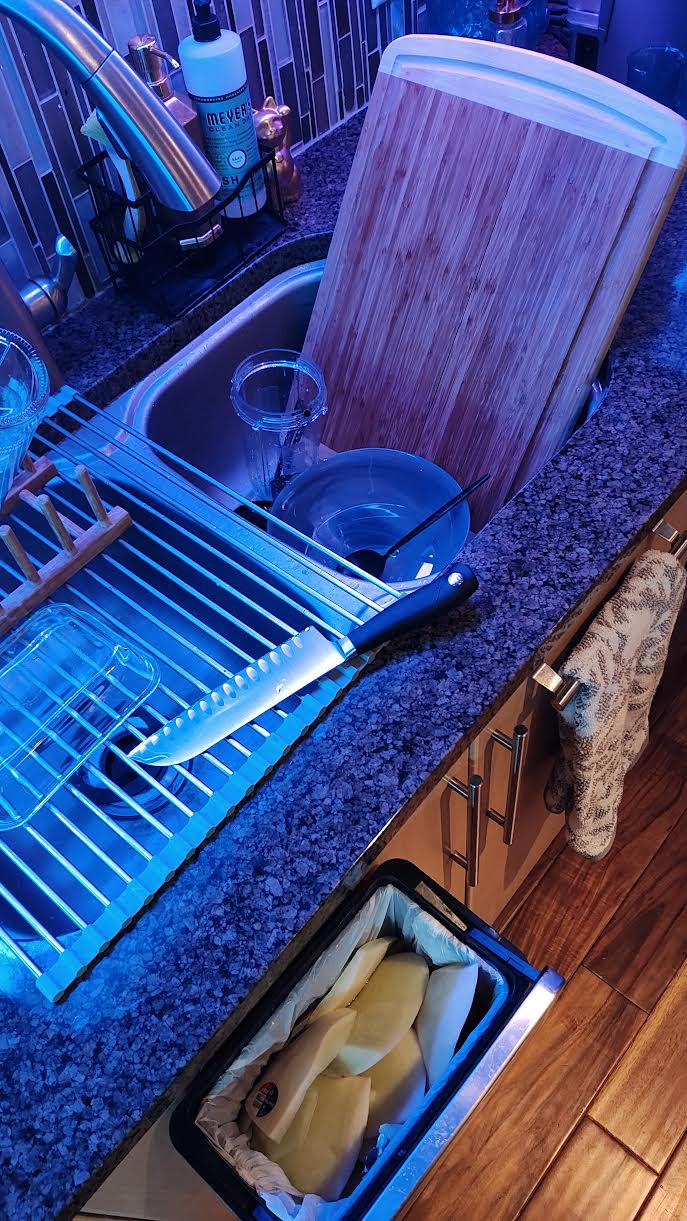
- A cutting board and knife with which to cut your melon into blendable chunks
- Your favorite bowl for your melon chunks to go in while they await blending
- These are optional, but recommended:
- Sweetener of some kind, like sugar or honey. You only need a little bit.
- A coconut beverage, like a mysterious Chinese coconut milk. (It's okay if yours is less mysterious.) You can also play around with other fruits and juices. For example, sometimes I like to throw a banana in with my cantaloupe juice. You really can't go wrong.
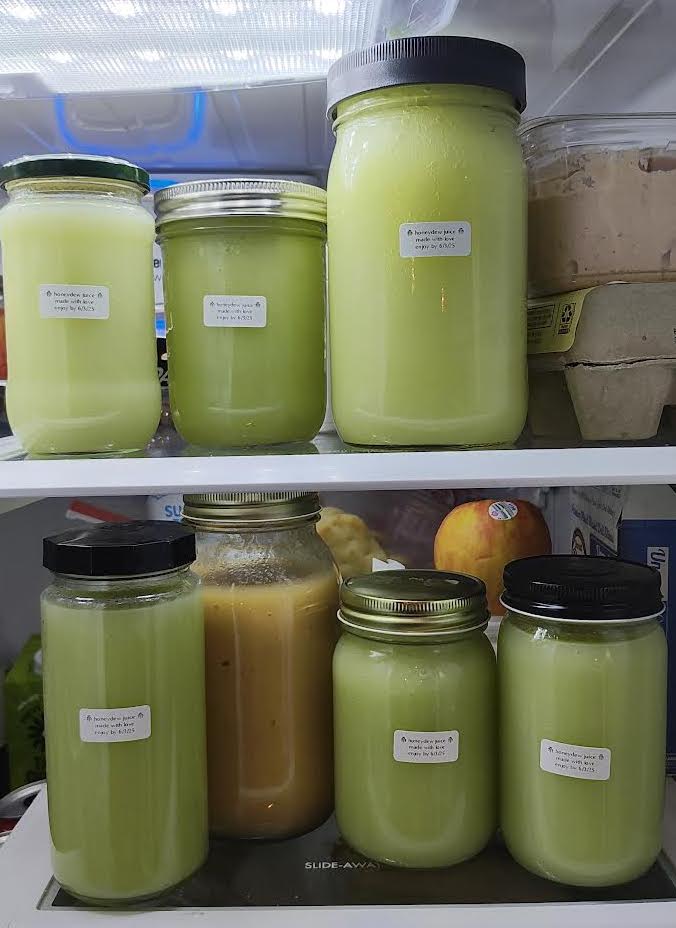
- You might also want to prepare some vessels to store your finished juice in, as one or two melons will yield a surprising amount of juice. I like to swish my jars out with a tiny bit of rubbing alcohol and let it evaporate completely before I pour the juice in, just to minimize bacteria that could make the juice go funky. But you don't have to do all that; the juice will generally keep just fine for a few days either way.
juice those melons !
- Make sure you select a good melon. The best way to gauge a melon's juiciness is to hold it up to your ear and knock on it like a door. You'll know if it's a juicy melon because it will just sound juicy. I can't explain it, but listen to the melon and it will tell you. Also, if the melon is heavier than it looks like it should be, that usually means that the inside is nice and ripe and has been turned to juice.
- Slice it up! When cutting fruits or veggies, you should always create a flat side with the first slice. This is a knife safety thing; you don't want your melon rolling around while you're slicing it up. So, cut it in half around the middle. (The middle that works best is the one where if you hold the melon so that its little "melly-buttons" are facing up and down like the axis of a globe, you would cut along the Equator).
- Scoop out the seeds with a spoon and toss them aside.
- Flip both melon halves so that the flat sides are facing down, the part you just scooped the seeds out of. Very carefully slice the skin off in radial strips, holding the knife away from you and turning the melon as you go, and then remove the little hat. I have found this to be the most efficient way of doing this by far.
- Cut the big bare melon domes into chunks! Your hands will get so juicy and sticky. Embrace it, it's part of the fun. Squeeze that melon flesh, it's slippery. Enjoy the juiciness. Get crazy.
- Wrangle those chunks from your bowl into the blender. If you have a big blender, congratulations. This will be much more efficient. I have to do it in batches, but I don't mind. I don't have blender envy at all.
- Add sweetener and additional liquids if you'd like. Ripe melon by itself is so juicy that you don't really need anything else, but a little something to add some creaminess and sweetness will bring your juice into the realm of the angels. You only need a little: I like to add maybe a teaspoon of sugar or honey to each blender-full of juice.
- It's time to blend! Just blend that melon till it's nice and smooth. Don't be shy, you can't really overdo it. I usually blend mine for about sixty seconds or so.
- Pour the juice into vessels of your choice. As you pour, it helps to kind of tap the vessel gently on your countertop so that the air bubbles rise to the top and pop. I think it's true that if there's less oxygen in the juice, it will stay fresh longer. As far as vessels go, I like to recycle sauce jars because they have a nice shape to them. I like to add a little label, but you don't have to.
- Enjoy! You can drink it right away or put it in the fridge for a while to get cold.